
Last updated November 15, 2026
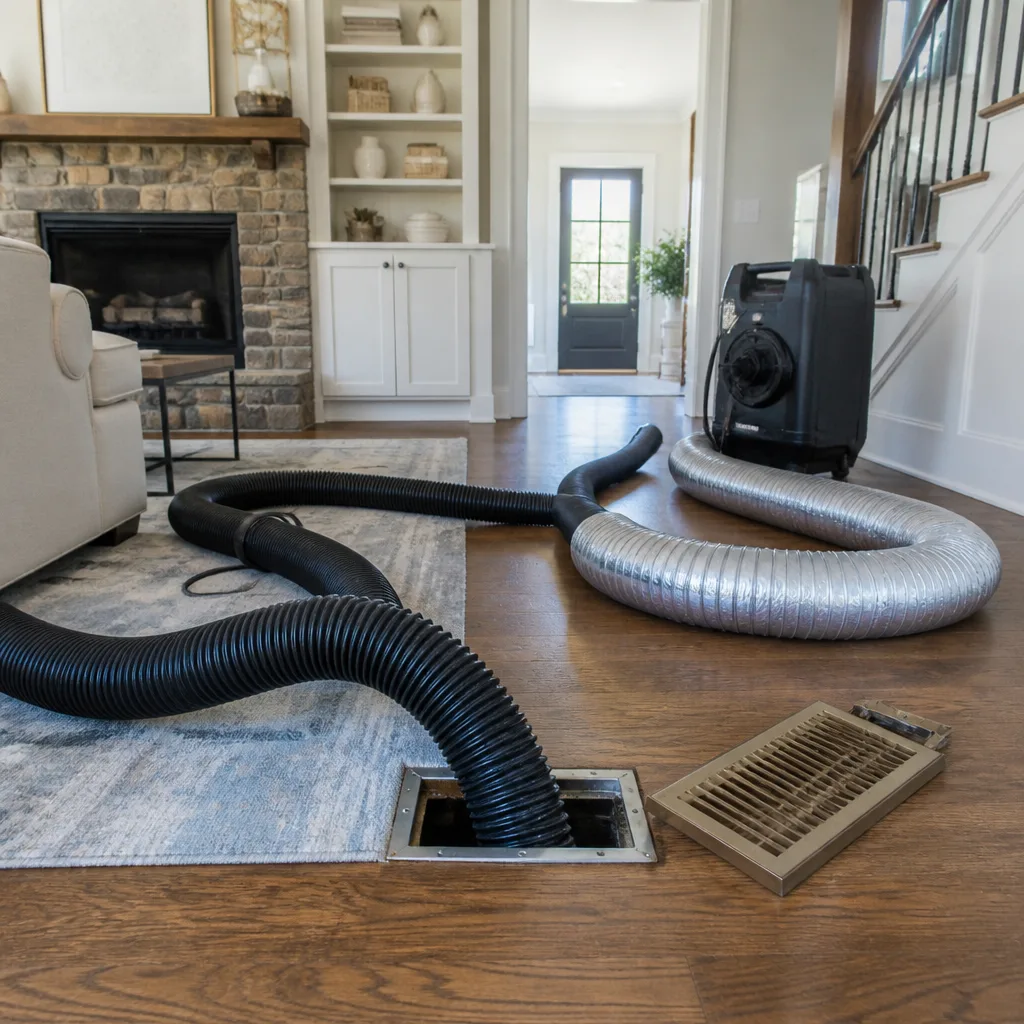 Whole-home duct cleaning
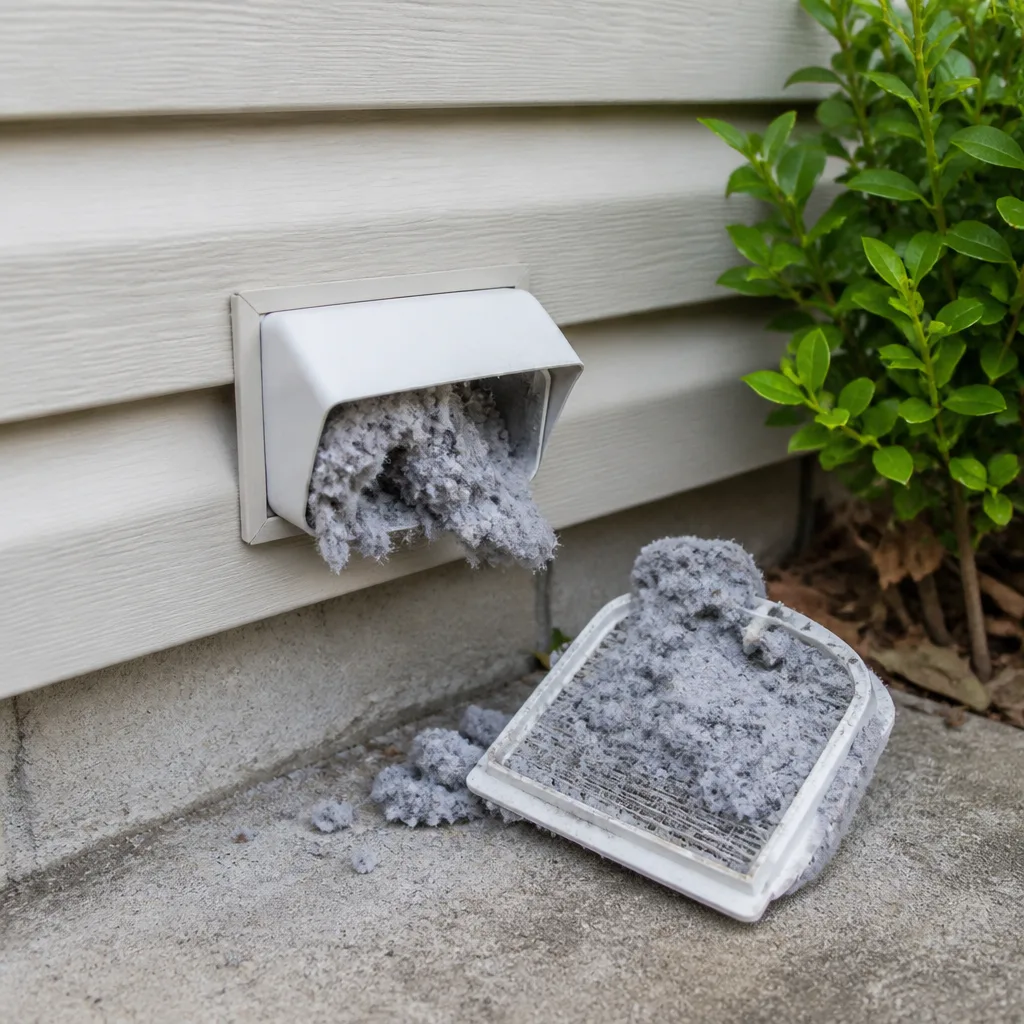 Dryer vent cleaning
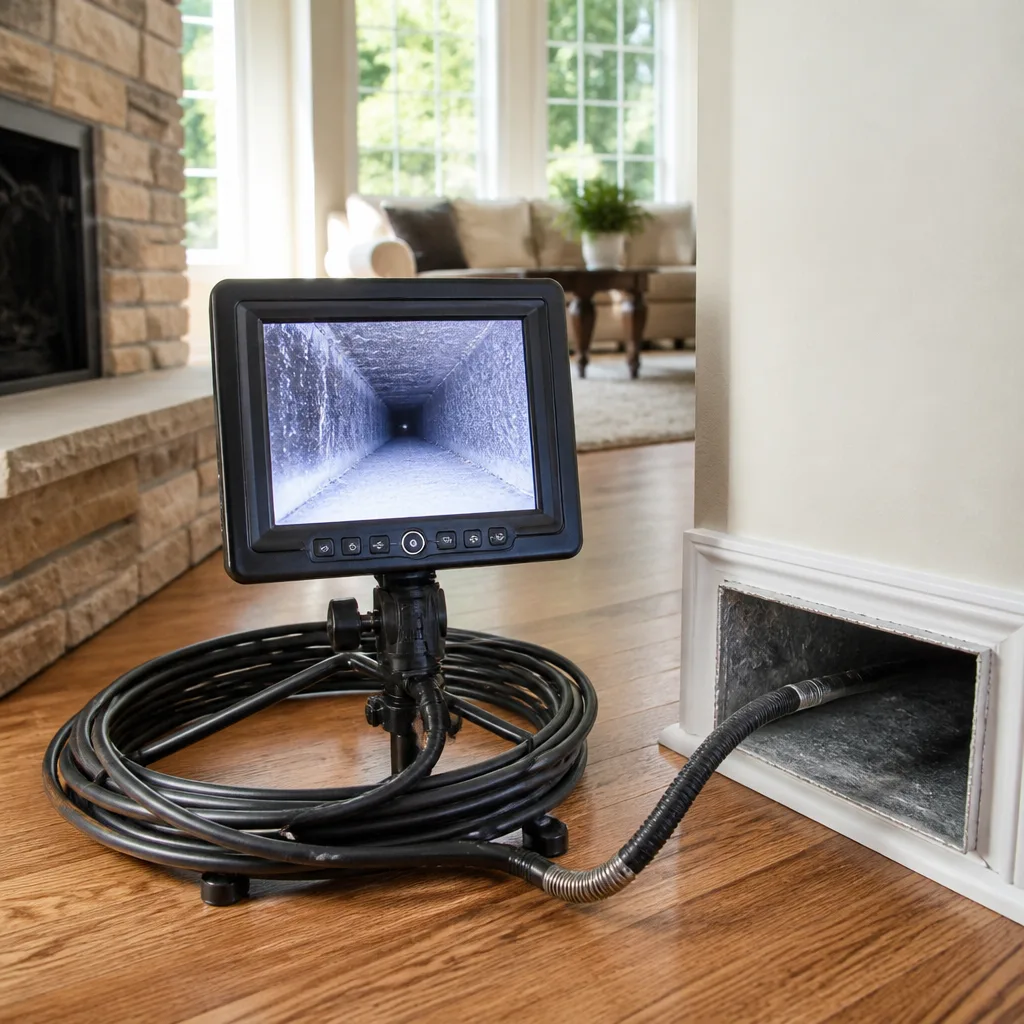 Camera inspection
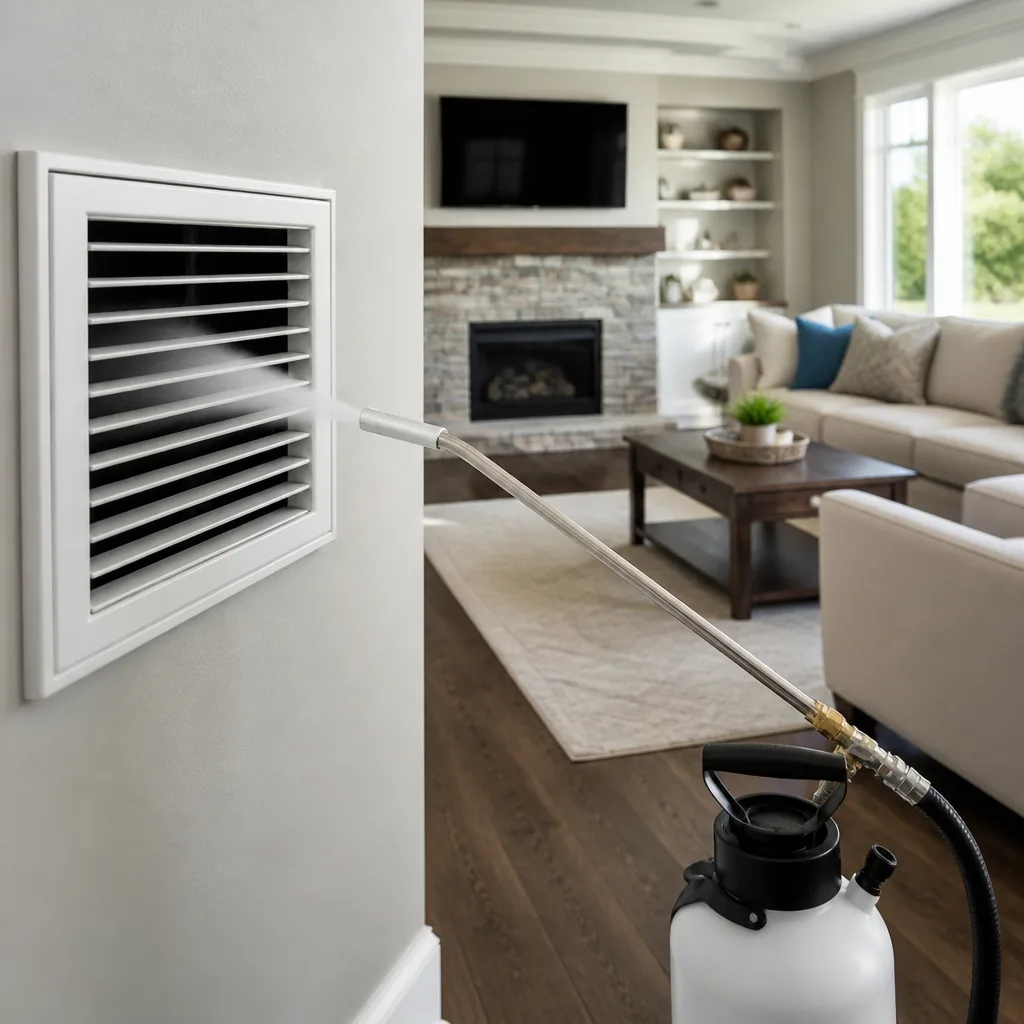 Sanitizing & deodorizing
Whole-system duct and dryer vent check with before-and-after photos - you see exactly what came out of your vents
That "$99 whole-house special" is a bait ad - the real number appears once they are in your hallway, or the "clean" is a shop-vac at the register. We photograph the inside of your ducts before and after instead.
Air Duct Repair Maintenance Checklist for Hialeah Homeowners
A professional cleaning on a duct system with a disconnected return section doesn’t improve your air quality. It cleans the inside of a leaky pipe. That’s the part most checklists get wrong: they treat cleaning and repair as two separate jobs, done months or years apart, when in practice a system that leaks just re-contaminates itself within weeks of a thorough cleaning. In Hialeah, where flex duct runs through attics that hit 130°F and higher in summer, those failures happen faster than most homeowners expect. This guide walks through the full checklist – what to inspect, in what order, how to spot the specific failure points common to local homes, which repair materials actually hold up, and what to document after every cycle.
Quick Answer
An air duct repair and maintenance checklist for Hialeah homeowners should cover four phases: a visual inspection of flex duct for kinks, compression, and inner liner separation; a leakage check at supply and return plenums; a repair pass using mastic sealant (not metal tape) on any gaps; and a documented cleaning cycle scheduled around Hialeah’s dust and humidity load rather than the generic 3-to-5-year industry default. Cleaning done before repair wastes money, because the system leaks contamination back into the living space. The order matters more than the frequency.
Styles & brands we work with
- Whole-home duct cleaning
- Dryer vent cleaning
- Camera inspection
- Sanitizing & deodorizing
Table of Contents
- Why Duct Repair Comes Before Duct Cleaning in Hialeah
- Inspecting Flex Duct: The Three Failure Points to Look For
- Checking for Leakage at Supply and Return Plenums
- Mastic Sealant vs. Metal Tape: What Holds Up in a Hialeah Attic
- Building a Maintenance Schedule Around Hialeah’s Dust and Humidity
- Documenting Every Repair and Cleaning Cycle
- Adding Dryer Vent Cleaning to the Checklist
- When the Checklist Requires a Professional
Why Duct Repair Comes Before Duct Cleaning in Hialeah
Repair should come before cleaning on any system with known breaches, and the reasoning is mechanical, not marketing. A vacuum pulls air from wherever it can reach. If a return duct has separated behind drywall or a flex run has torn its outer jacket, the cleaning equipment pulls air through that breach while dust and debris move freely through the gap. You get a clean section of duct connected to a dirty living space. The remedy is to seal first, then clean, then verify the seal held.
For Hialeah homeowners, this ordering matters more than it does in cooler climates because the air handler runs almost year-round. A system that runs constantly under load moves more air through its leaks than a system that idles half the year. Every unsealed joint becomes a steady stream of attic dust, insulation fibers, and humidity pulled into the supply side.
In our experience, the systems we inspect in Hialeah that fail this test usually share one of a few patterns:
- Cleaning done first, repair never scheduled – the homeowner saw visible dust reduction for a few weeks, then it returned.
- Sealing done with the wrong material – tape that peeled within one summer of attic heat cycling.
- Repair done without documentation – no record of what was fixed, so the next technician (or the homeowner) has no baseline.
The checklist below treats each phase as linked. That’s intentional. A duct system is one assembly, and repairs you skip get paid for twice – once when you clean and again when contamination returns. If you want to understand the cleaning phase in more detail, our air duct cleaning page covers the equipment and process behind it.
Inspecting Flex Duct: The Three Failure Points to Look For
Most Hialeah homes – particularly those built or renovated in the last two to three decades – run flex duct in the attic rather than rigid metal trunk lines. Flex duct is efficient to install and forgiving of odd routing, but it has three specific failure modes that show up locally, and all three are visible to a homeowner on a walkthrough without special tools.
1. Kinking
A kink is a sharp bend that pinches the duct’s cross-section, sometimes down to half its diameter or less. Kinks happen at turns around framing, near the air handler, and wherever a run was pulled tight to fit. A kinked duct can’t deliver rated airflow to the room it serves, and the static pressure backs up into the rest of the system, forcing leaks elsewhere. Look for a bend that flattens the duct rather than curving it smoothly.
2. Compression
Compression is a lengthwise squeeze – often where duct runs got stepped on during attic work, crushed under stored items, or trapped between a joist and the roof decking. The duct looks flattened or narrowed along a section. Compression reduces airflow the same way a kink does, and it also stresses the inner liner at the point of squeeze.
3. Inner Liner Separation
Flex duct has a plastic inner liner, insulation, and an outer jacket. The inner liner is what actually carries the air. If the liner separates from the outer jacket, it can collapse or fold back on itself, blocking the airway entirely. Look for a sagging section, a rattle when the system runs, or visible liner peeking through a tear in the outer jacket. This one is easy to miss because the duct looks fine from outside.
All three should be identified and recorded before any cleaning begins. Cleaning a kinked or liner-separated duct does nothing useful – the air can’t reach the cleaning head properly – and in the case of liner separation, the agitation can worsen the tear. Our Hialeah Duct Cleaning team inspects for these three failure modes first on every repair call, and it’s the reason we recommend a walkthrough before scheduling the cleaning itself.
Checking for Leakage at Supply and Return Plenums
Plenum leakage is the most common cause of a system that never feels fully clean after professional service, and it’s the one failure most homeowners can spot themselves. The plenum is the box where the air handler connects to the ductwork – one on the supply side, one on the return side. In Hialeah homes with attic-mounted air handlers, the plenums sit in the hottest part of the house, which is also the part most exposed to humidity swings.
Here’s how to check without any specialized equipment:
- Turn the system on and let it run for two to three minutes. You want steady-state airflow before you start feeling around.
- Feel along every seam on the supply plenum – the edges where the plenum meets the air handler, where it meets the first duct run, and any taped or mastic-sealed joint. A leak feels like a steady, focused stream of cool air. Don’t just wave your hand around; press lightly at the joint with your fingertips, where a leak is easiest to feel.
- Repeat on the return plenum. Leaks here feel like air being pulled toward the joint rather than pushed out. Hold a thin tissue or a piece of plastic wrap near the seam – if it’s sucked toward the gap, the return is drawing attic air.
- Check the visible flex runs for similar patterns. Anywhere the duct is taped, or attached to a boot or register collar, is a candidate. Feel along the full joint.
- Listen while the system shuts off. Occasionally, a small leak will whistle faintly as pressure changes – easier to hear than to feel.
If the return side is drawing attic air, that’s the highest-priority repair on your checklist. A leaky return doesn’t just waste conditioned air – it pulls hot, dusty, humid attic air straight into the air handler and distributes it throughout the house. That’s the “re-contamination within weeks” scenario. Testing is free; the repair is what you schedule next.
Mastic Sealant vs. Metal Tape: What Holds Up in a Hialeah Attic
Repair material choice is where most duct work quietly fails, and in a South Florida attic the failure comes fast. A duct joint sealed with the wrong material can start peeling within a single summer as the attic swings from morning temperatures in the 80s to afternoon peaks above 130°F. That’s a thermal swing of 50 degrees or more, repeated daily for months, on a surface coated in adhesive.
Here’s how the two common repair materials compare in Hialeah conditions:
| Material | How it performs in a Hialeah attic | Best use |
|---|---|---|
| Mastic sealant (brush-on or trowel-on) | Flexes with the duct as temperatures swing; adheres to flex jacket, sheet metal, and duct board; remains pliable without cracking; the industry-standard choice for permanent joints | Plenum seams, duct-to-boot joints, flex-to-collar connections, any gap that must remain sealed long-term |
| Metal foil tape (UL 181-rated) | Adhesive degrades under sustained heat cycling; corners lift and curl; fails much faster in a hot attic than in a conditioned space; not rated for flex duct outer jackets | Temporary repair only, or interior of rigid metal ducts where mastic can’t reach |
| Cloth duct tape | Fails almost immediately at attic temperatures; the adhesive breaks down and the tape peels; never appropriate for duct sealing | Not recommended |
The rule we follow: mastic on every permanent joint, full coverage, no thin edges. It goes on as a coat, not a dab – a common mistake is a small bead of mastic over the seam that looks sealed but leaves most of the joint exposed. A proper mastic repair coats the joint and an inch or more on either side, giving the material enough surface to stay adhered as the duct expands and contracts.
For flex duct specifically, mastic is the correct choice at the collar and boot junctions. Flex outer jackets don’t accept tape adhesive well even in cool conditions, and heat cycling makes it worse. If a run has torn jacket or separated liner, the correct repair is often a splice or full run replacement rather than more sealant, and that’s a job best done by someone equipped for it – which is why our Hialeah repair team treats material selection as a first-pass decision, not a last-minute add-on.
Building a Maintenance Schedule Around Hialeah’s Dust and Humidity
The generic “clean your ducts every 3 to 5 years” advice was developed for climates with long heating seasons and low year-round humidity. Hialeah doesn’t match that profile. Two factors push the interval shorter here: dust load and humidity. Dust comes in through open windows during the dry months, off attic insulation disturbed by any work up there, and from nearby construction. Humidity means that dust tends to adhere to duct surfaces rather than blow through – once it settles, it stays.
The result: Hialeah systems tend to hit the same contamination level in less time than the national default assumes. A checklist that accounts for local conditions is more useful than a calendar-based one. Here’s a practical schedule:
- Monthly (five minutes, homeowner): Change or rinse the filter, check the return grille for visible dust buildup, and listen for unusual airflow noise. A filter that loads faster than usual is a signal the system is drawing in extra dust.
- Quarterly (fifteen minutes): Do a visual walkthrough of accessible flex duct in the attic. Check for new kinks, sagging, or visible jacket damage. Feel the plenum seams again – a new leak can open any time.
- Annually (professional): A full inspection with a camera if needed, coverage of plenum and joint integrity, and a documented condition report. This is the cycle where a professional should see the system before small issues become structural.
- Every 2 to 3 years (professional cleaning): A complete cleaning on a system that has passed inspection. If your home has pets, is near active construction, or runs the air handler constantly, lean toward the shorter end.
- After any attic work, renovation, or roof repair (professional inspection): Flex duct in Hialeah attics gets stepped on, compressed, and dislodged during other trades’ work. This is the single most common cause of a new duct breach we see, and it’s preventable with a post-project inspection.
If you’re not sure where your system falls on this schedule, the dryer vent cleaning page and the duct cleaning page both cover the inspection step that establishes a baseline. Once you know the starting condition, the interval writes itself.
Documenting Every Repair and Cleaning Cycle
Documentation is the phase almost every homeowner skips, and it’s the one that pays off longest. A written record of what was repaired and when gives you three concrete benefits: it lets the next technician see the system’s history instead of re-diagnosing from scratch, it lets you spot degradation over time (a plenum that needed sealing twice in two years is telling you something), and it supports warranty or insurance claims if the system later fails in a way that traces to a documented defect.
What to keep after every repair and cleaning cycle:
- Before-and-after photos of the specific areas worked on – plenum seams, splices, replaced flex runs. Photos taken before the repair are the ones that matter most, because they show the condition you paid to fix.
- The written estimate and final invoice, with line items for each repair rather than a lump sum. This is the record that a joint was sealed, a run was replaced, or a boot was reattached – not just that “duct work was performed.”
- Material notes – was mastic used, was a flex splice installed, was a section of duct replaced. This matters because it tells the next technician what to expect and where to focus.
- Condition report from the inspection, including any items flagged for future monitoring – areas that weren’t leaking yet but showed wear.
- Filter type and interval – if you changed filter grades or schedule, note it, so the next interval comparison is apples to apples.
Insurance is the underdiscussed reason to keep records. Water damage from a failed condensate line, smoke from a kitchen fire, or storm-driven water intrusion into an attic can all involve the duct system, and a documented baseline of pre-loss condition is what makes a claim arguable rather than a negotiation from zero. You don’t need to keep a binder; a single folder with the last few cycles is enough. The point is that the story of the system exists somewhere other than memory.
Adding Dryer Vent Cleaning to the Checklist
Duct maintenance and dryer vent maintenance get treated as separate chores, but they share the same failure pattern: lint and dust accumulate silently until a safety threshold is crossed. A clogged dryer vent is a fire hazard, and the checklist that covers your HVAC ducts should cover the dryer vent run on the same annual cycle. It’s the simplest safety win on the list.
What the check involves:
- Inspect the full run, not just the lint trap area. The hidden segment behind the dryer and through the wall is where clogs form. A visual from the exterior vent tells you quickly whether airflow is restricted.
- Look for crushed or kinked flex venting in the same way you’d check HVAC flex duct. A crushed dryer vent run catches lint and increases drying time before it becomes a fire risk.
- Check the exterior termination for a stuck flap or a screen that traps lint. Some venting should not use screens at all; verify what the manufacturer specified for your appliance.
- Note drying time as an early warning. If your dryer used to finish a load in 45 minutes and now takes an hour and change, that’s a signal to inspect before something worse happens.
Cleaning the dryer vent alongside the annual duct inspection means one professional visit covers both, and the same documentation habits apply – photos, line items, and a record of the run’s condition. It’s a small addition to the checklist that carries an outsized safety return.
When the Checklist Requires a Professional
Some items on this checklist are homeowner tasks – filter changes, visual walkthroughs, feeling for plenum leaks. Others are professional territory, and trying to handle them yourself can turn a manageable repair into a system-wide problem. Call a professional when:
- A plenum seam is leaking after a prior mastic repair. Re-sealing a failed joint usually means the underlying surface wasn’t prepared correctly, and repeat-failing joints need a proper repair, not another coat.
- Flex duct shows inner liner separation. This usually requires a splice or a full run replacement, and the work has to be done behind drywall or in a tight attic.
- Airflow is restricted in more than one room. A single low-flow register can be a boot or diffuser issue; a whole-house pattern usually points to a plenum or trunk problem.
- The return is drawing attic air. This is the worst case for air quality and the most important repair to get right.
- You can’t access the failure point yourself. Ductwork in Hialeah attics is often routed behind framing or under decking. Getting to it safely, and doing the repair without creating a new tear, is professional work.
- You’ve had attic work done within the past 12 months. The most common source of new duct damage, and worth a professional inspection rather than a guess.
We treat the repair and cleaning phases as linked visits where the system needs both – so the work gets done in the right order, and you don’t pay for a cleaning on a system that will just re-contaminate itself. Hialeah Duct Cleaning offers free estimates in Hialeah – call (888) 831-4689. We answer 24/7. Fast dispatch from 7am to 7pm, Sunday through Friday. Our technicians have up to 9 years of experience, and we use contractor-grade equipment from Rotobrush and Nikro for the cleaning phase and inspection-grade tools including Abatement Technologies filtration for elevated contamination scenarios.
See the difference
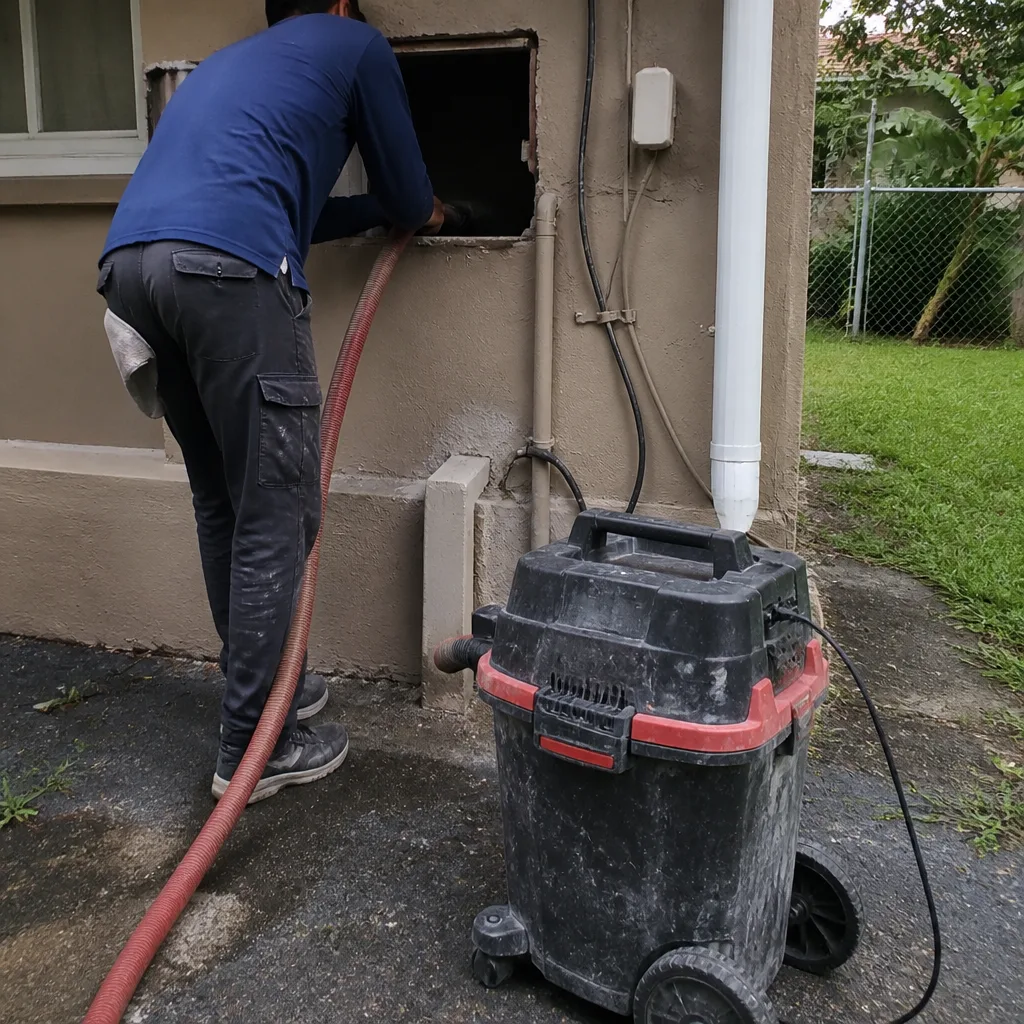 Before
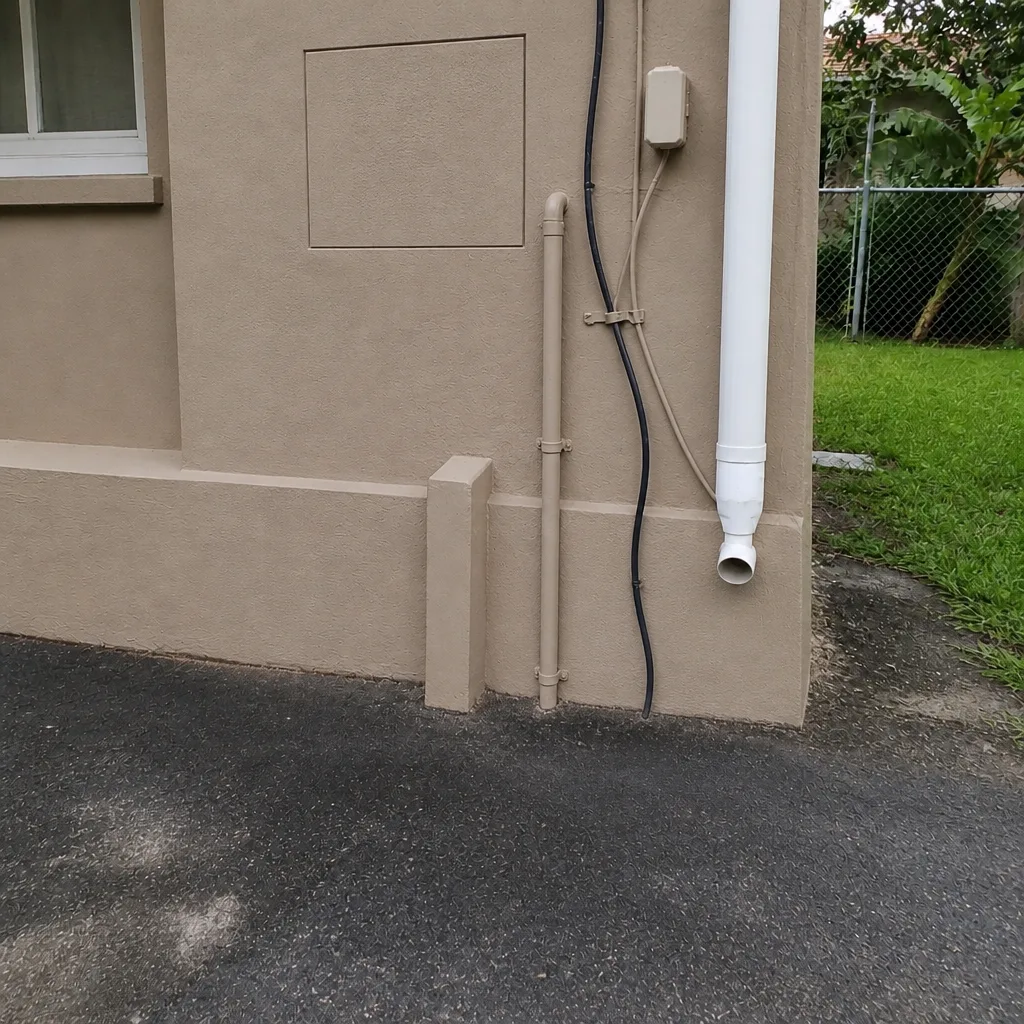 After
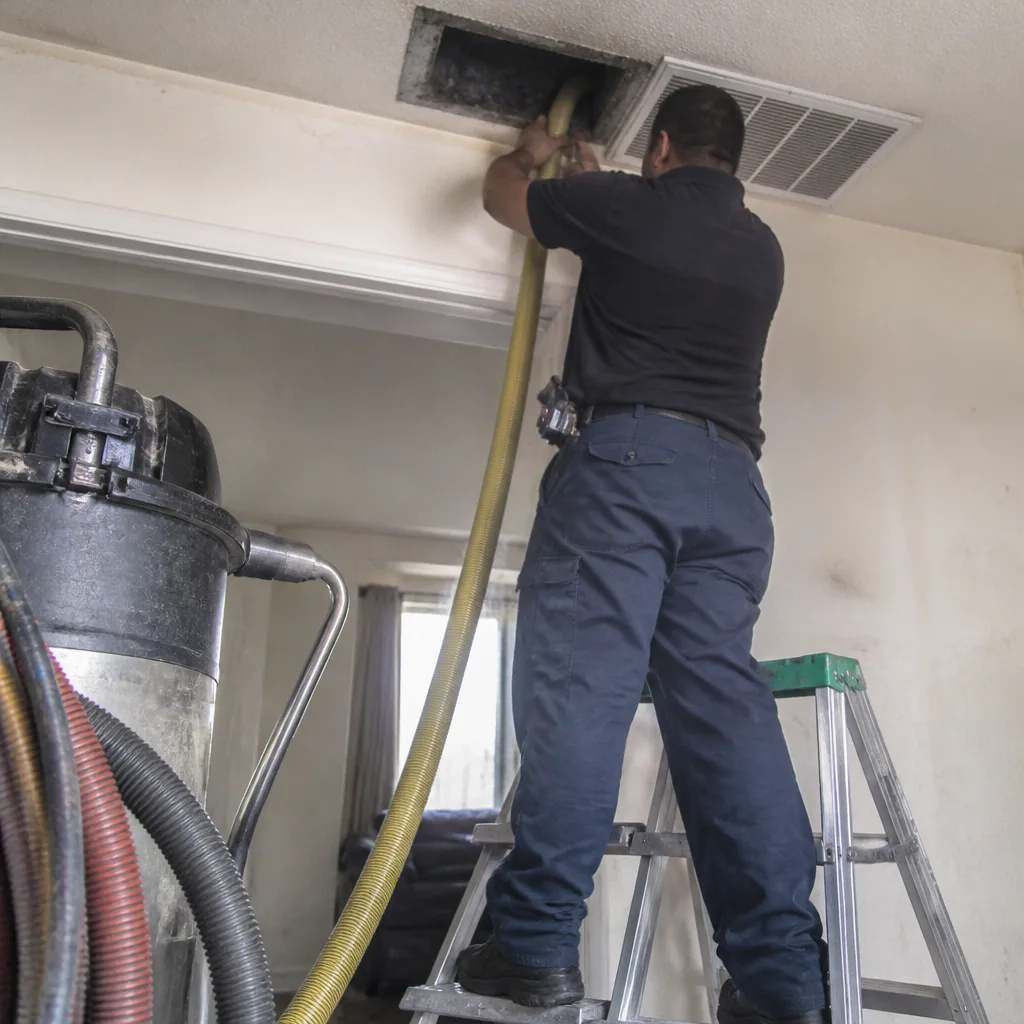 Before
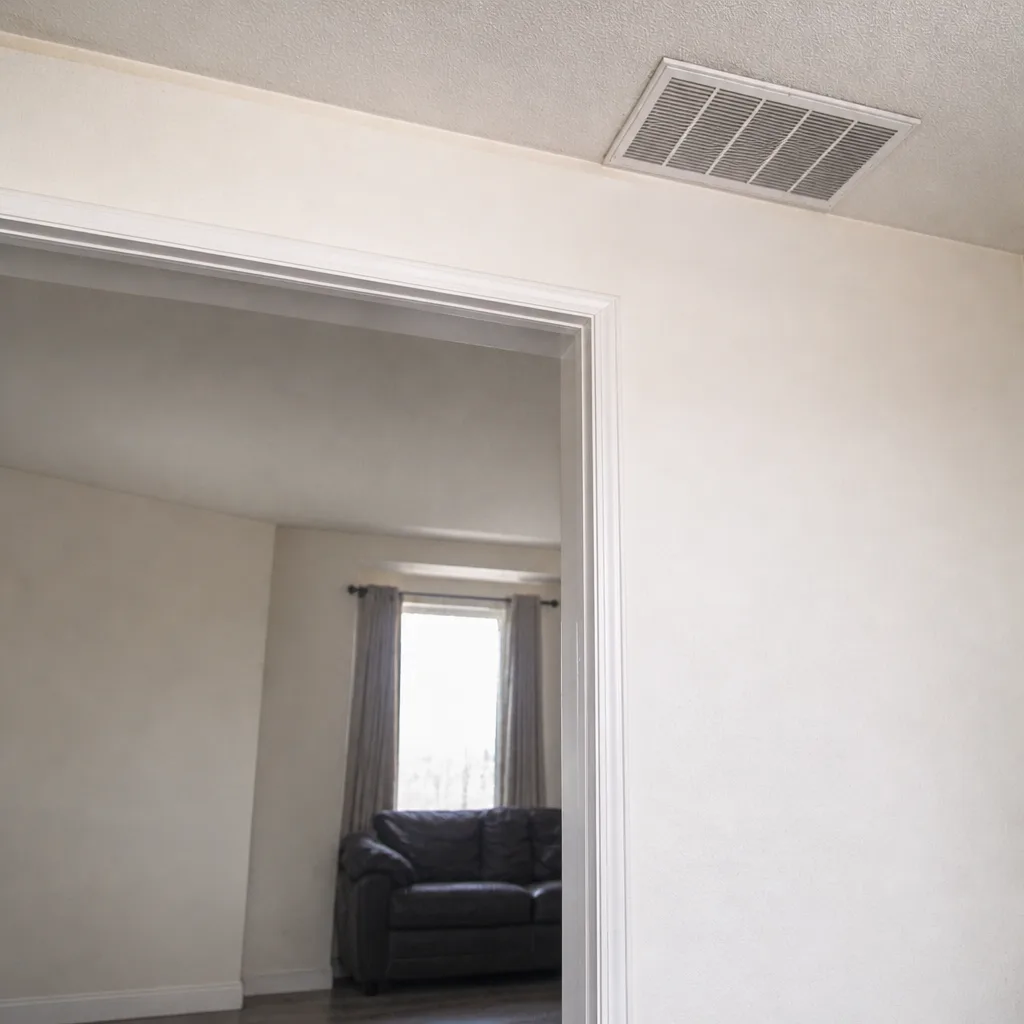 After
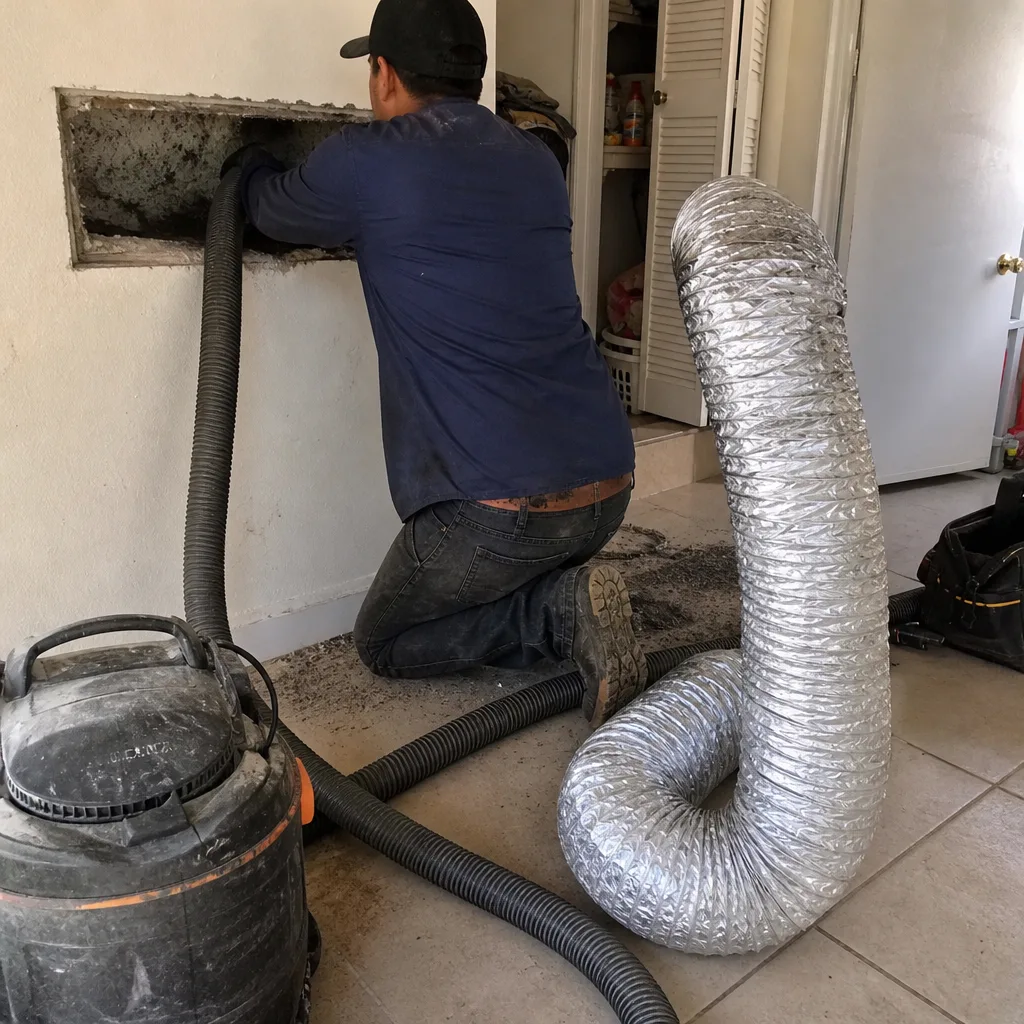 Before
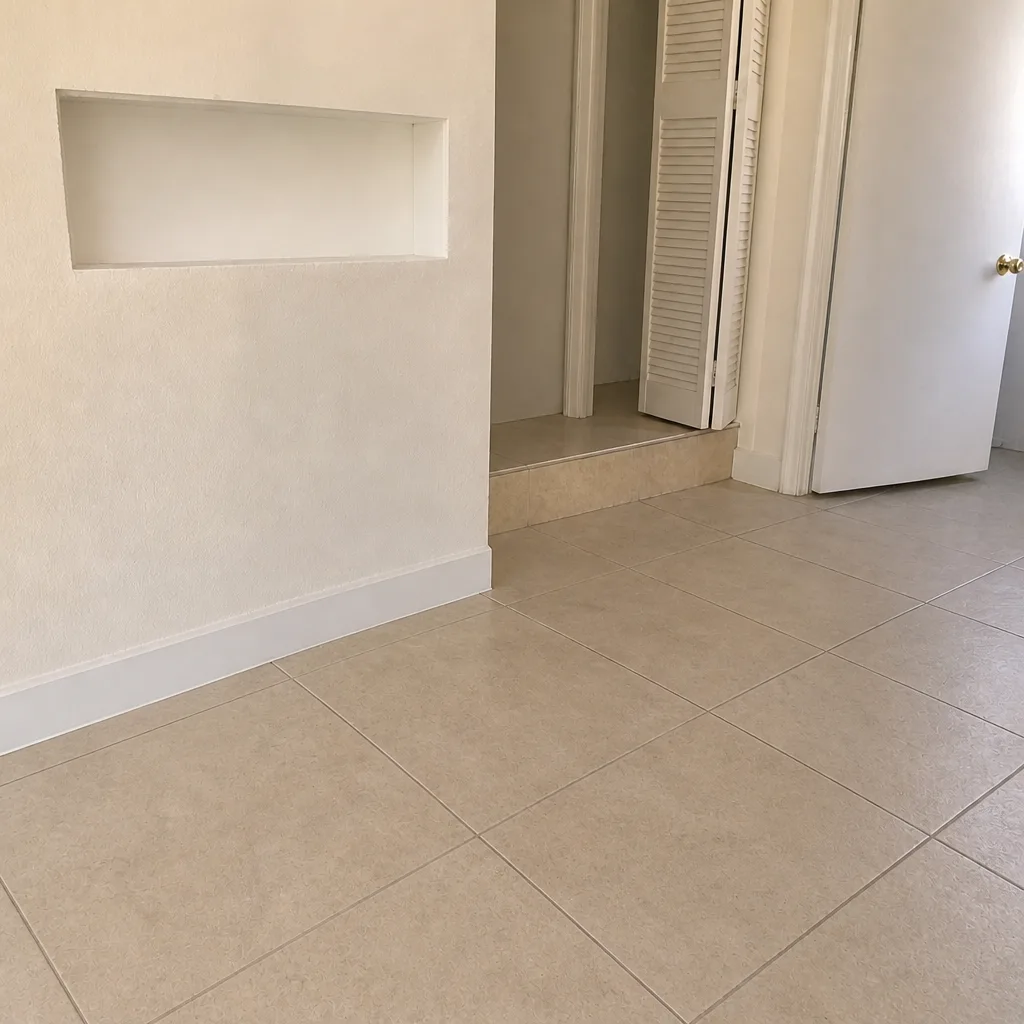 After
Common Mistakes to Avoid
- Cleaning before repair. A cleaning on a system with an unsealed return doesn’t stick. The system re-contaminates within weeks. Confirm the seal condition before scheduling the clean.
- Sealing with duct tape. The adhesive on cloth duct tape fails fast at Hialeah attic temperatures. Use mastic on permanent joints – full coverage, not a thin bead at the seam edge.
- Skipping the attic visual walkthrough. Flex duct gets stepped on, compressed by storage, and torn by attic work. A quarterly look, five minutes, catches most of it before it becomes a repair.
- Assuming a low-flow register is a diffuser problem. A single weak register can be a kink, compression, liner separation, or a duct that has come loose at the boot. Check the duct first.
- Ignoring the dryer vent on the same cycle. The dryer vent fails the same way the duct system does – silently, over time, until it matters. Add it to the annual inspection.
- Throwing away the before-and-after photos and the line-item invoice. When a repair fails or an insurance claim comes up, the record is what supports the conversation.
- Following a generic 3-to-5-year interval. Hialeah’s dust and humidity load pushes the practical interval shorter. Use a condition-based schedule – inspection annually, cleaning every 2 to 3 years.
Frequently Asked Questions
Every 2 to 3 years is a practical baseline for most Hialeah homes, with annual inspection in between. The shorter-than-national interval reflects the local dust and humidity load. Homes with pets, near active construction, or running the air handler constantly should lean toward the shorter end. Call (888) 831-4689 for an exact quote – estimates are free.
Cheap quotes usually skip the inspection phase, don’t include repair, or use surface-level vacuum equipment instead of mechanical agitation. The lower price often turns into a larger invoice once the technician is on site and “discovers” problems that a walkthrough would have caught. We work from one written estimate that covers the whole job. Call (888) 831-4689 to get one – estimates are free.
Typical whole-system cleaning for a standard Hialeah home runs in the range of a few hundred dollars, with repair work priced separately based on what’s found during inspection. We don’t quote per-vent prices or teaser coupons – the number you get is for the whole system, agreed in writing before work starts. Call (888) 831-4689 for an exact quote – estimates are free.
We provide before-and-after photos of your own ducts, not stock images. The written invoice lists the repairs made and the cleaning performed as separate line items. That documentation is what you keep for warranty or insurance purposes. Call (888) 831-4689 to see how it works – estimates are free.
Yes. When we find a kink, compression, liner separation, or a leaking plenum during the inspection, we repair it before the cleaning phase, not after. Doing it in the right order prevents re-contamination. Call (888) 831-4689 to schedule an inspection – estimates are free.
Keep the before-and-after photos, the written estimate and final invoice with line items, notes on materials used (mastic, splice, replacement section), and any flagged monitoring areas from the condition report. That record is what supports a warranty or insurance conversation years later if the system fails. Call (888) 831-4689 for a quote on the next cycle – estimates are free.
The Bottom Line
A duct checklist that separates cleaning from repair leaves the job half done. The order that works: inspect for flex duct kinks, compression, and inner liner separation; check plenum seams on both supply and return for leakage; repair with mastic – never tape – before cleaning; then clean, verify, and document. Build the schedule around Hialeah’s actual dust and humidity load, which means annual inspection and cleaning every 2 to 3 years rather than the generic default. Keep the photos and line-item invoices. Add the dryer vent to the same annual cycle. That sequence is what stops re-contamination, and it’s the sequence we follow on every job.
Air duct maintenance in Hialeah is a repair discipline before it’s a cleaning service. We’ve built our practice around that fact – contractor-grade equipment from Rotobrush and Nikro, Abatement Technologies filtration for elevated contamination scenarios, and the ability to work with Guardsman, Honeywell, and Aprilaire systems when upgrades make sense alongside the cleaning. Call (888) 831-4689 for a free estimate. We answer 24/7. Fast dispatch from 7am to 7pm, Sunday through Friday. For more detail on the primary services, see our air duct cleaning page, our Hialeah local page, and our dryer vent cleaning page – or start at the Hialeah Duct Cleaning home page.
Written by the team at Hialeah Duct Cleaning.